How to setup Amazon Lightsail for a personal blog.
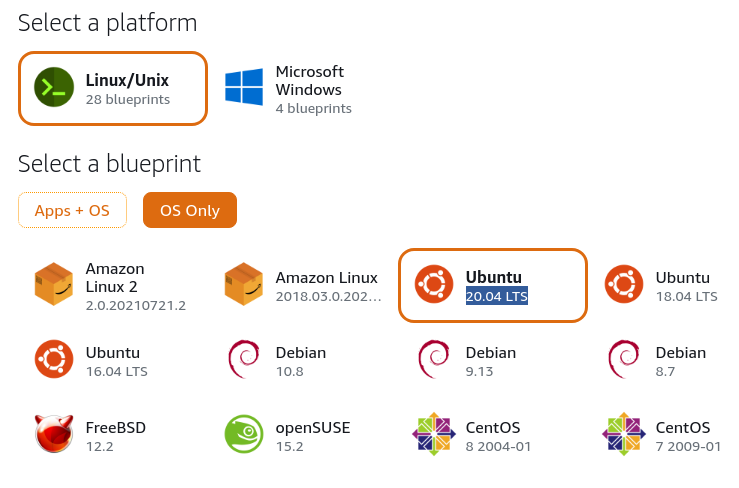
This post describes how I setup a personal blog running on Amazon Lightsail. Amazon Lightsail provides a low cost "virtual private server" which makes it an ideal platform to get started with a personal blog. Rather than use a Lightsail blue print I went for a OS only install which allowed me to install the necessary tools manually. Why did I choose this approach? I wanted to learn how to do this from scratch and it helps me understand exactly what is installed and how it interacts with the other components. I did try the bitnami ghost blueprint installation to begin with but there certain things done out of the box which did line up with the canonical installation instructions for the components I wanted to install.
Once the instance is created you can login in using the inbuilt viewer or if you prefer a terminal. To login using ssh you will need to download the key as explained here. This could be useful if you want to scp images or other files.
The next step is to configure a public static IP address, while this is an extra expense I think it's worth having a consistent IP address and I think necessary if you want to setup a custom domain. To do that, click the "Networking" tab with Lightsail and then assign a static IP address to your instance. While we're here it's worth adding a SSL firewall rule for your instance. This caught me out, and I spent some time trying to work out why my SSL connections would not work.
Why is setting up an SSL/TLS connection a good idea?
For one you don't want to send plain text passwords to log into your blogging platform, in addition, having SSL/TLS helps with your SEO or search engine optimization.
I also setup a what Lightsail call a "distribution" using cloudfront which provides an in built CDN this will help off load some requests from your origin. At this point you can decide whether the CDN should use a secure connection to connect to the origin or unencrypted, there are pros and cons to either approach. Using a SSL/TLS to connect will be secure but will also add a little more overhead due to the SSL/TLS handshake. One tip, do not setup caching just yet, while setting up your origin you will likely want to try out different settings so caching error pages or miss-configurations will throw you off, this caught me out a couple of times!
I bought a custom domain from Amazon which allowed me to setup the DNS records in route 53 right away. I also wanted to try out other CDN providers and also accept challenges from certificate authorities to setup a SSL/TLS connection on the origin. I created a A record or Address Record for my public IP, and a CNAME record for the CDN. I good overview of the various types of DNS records is detailed here.
Once your instance is up and running it's a good idea to update it to make sure everything is up to date so you're ready to install the other components you will need to setup a blog.
sudo apt-get update -y
sudo apt-get dist-upgrade -y
I might have missed something in the steps but this will give you a rough outline of the next steps required along with any gotchas. The next blog post will work through setting up nginx with a valid SSL certificate and serving images.